Delivery vehicles are limited by their load/capacity such as:
- Number of boxes that can fit into the vehicle
- Weight of orders that can be loaded on the vehicle
- Volume of orders that can fit into the vehicle
- Number of pallets that can be loaded onto the vehicle
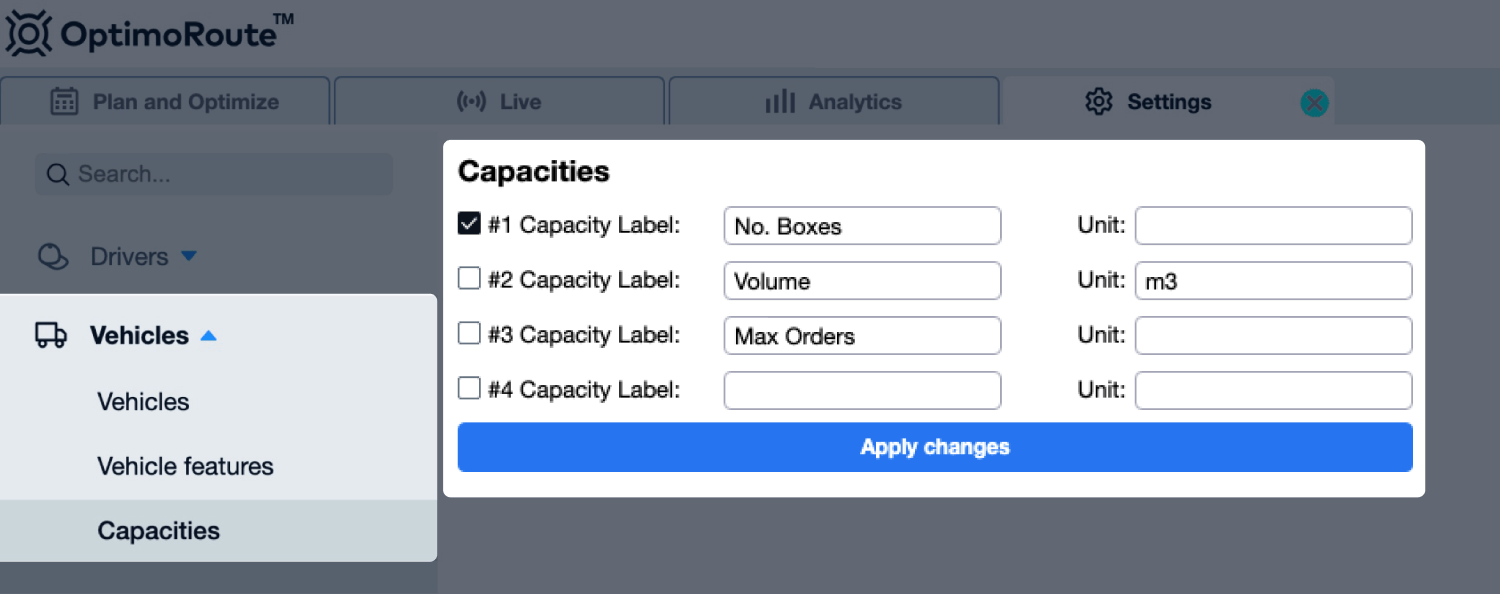
By default, weight and volume are used. To change this, select Vehicles from the Administration menu (Administration menu can be found in the top right corner of the screen) and select Capacities from the list on the left-hand side.
For example, if we want to use only the number of boxes as the load/capacity constraint for our vehicles we would:
- Change the label for Capacity #1 from ‘Weight’ to ‘No. Boxes’.
- Change the unit for Capacity #1 to an empty value
- Disable Capacity #2
- Apply the changes
Note: if vehicle load/capacity is not relevant (i.e. if you are performing field service instead of deliveries, or vehicle capacity is never a limiting factor) simply disable all capacity labels.
After we have configured the load/capacity constraints we want to use, it’s time to indicate each vehicle’s maximum capacity. To do this, go to the Vehicles setup page within your Administration menu, click into each vehicle profile, and edit the capacity field(s) that appear under the vehicle’s Details tab.
Now is also a good time to make sure that each Driver profile (also within your Administration menu) has a default vehicle assignment. This step is required if using vehicle capacities.
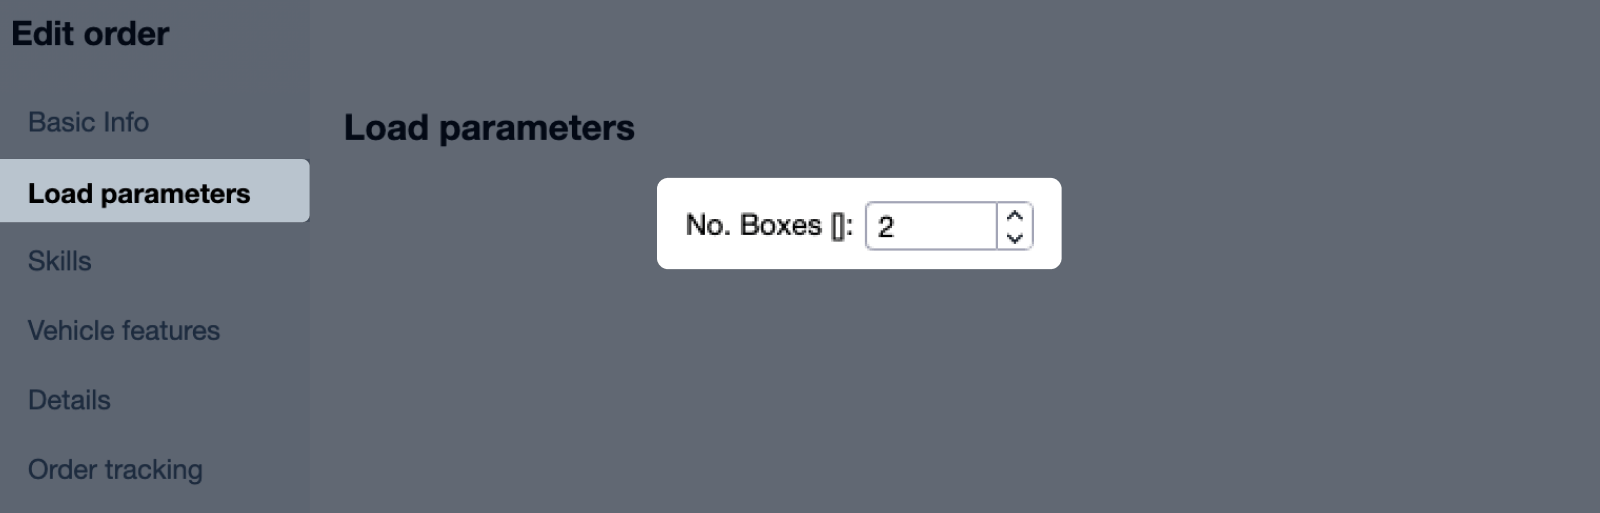
Finally, we are ready to enter the load for the orders. Open the Edit order window and enter the load parameters.
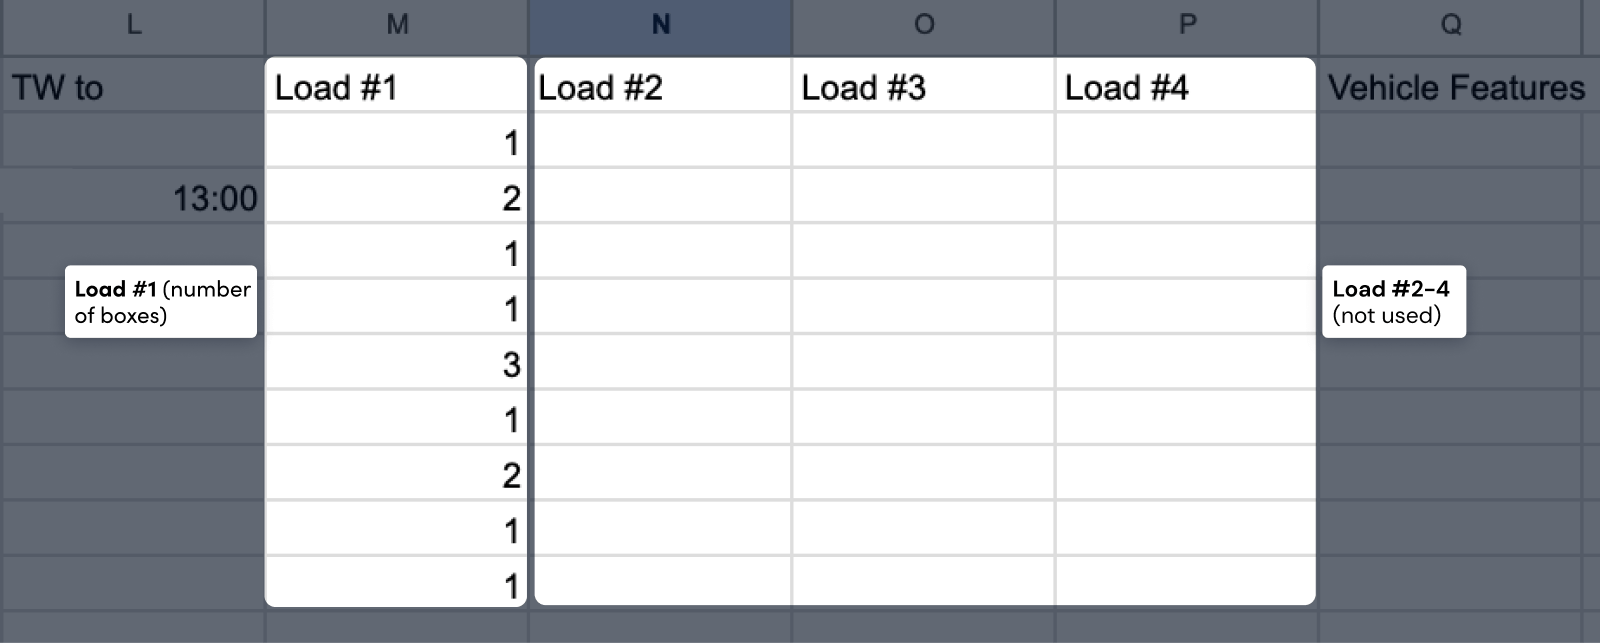
To specify the load parameters during import from MS Excel, enter the values in columns Load #1 to Load #4. In this example, we are using only Load #1 (No. boxes) so columns load #2-#4 are empty.